
How email-to-fax works
Melo's FaxPush service (also called email2fax) lets you send a fax by emailing your document as an attachment to a special address on our server. Behind the scenes, our system converts your file into a fax-ready format and transmits it over the phone network to the recipient — exactly the same as a traditional fax machine would, just without the machine.
Important
- Use lowercase only in the To field:
send@faxpush.com - The To address is case-sensitive.
Before you start
Your sender email address must already be registered to a fax-enabled extension on your Melo account. If you haven't set this up yet, contact our support team and we'll enable faxing on your extension.
How a Fax Is Sent
The full journey of a fax message — from the moment you hit send to the moment it reaches the recipient.
Step 1: Compose Email
Open your email client and start a new message addressed to Melo's fax server.
New MessageTosend@faxpush.comSubject15551234567document.pdfStep 2: Add Fax Details
- Subject must start with "1" before the fax number
- Attach files as .pdf, .jpg, or .tiff
- Up to 10 files per email
- Max attachment size: 50 MB
- Up to 5 fax recipients
Step 3: Server Receives Fax Request
The email arrives at
send@faxpush.comwith the fax content attached.Step 4: Approval Required
The server instantly replies to your email with an approval message. Click the "ACCEPT" link to authorise the fax.
link in confirmation emailStep 5: Sender Verification
Your sender email address must be assigned to a fax-enabled extension on your account. Each sender email can be linked to only one extension.
Step 6: Fax Conversion & Delivery
After approval, the server converts your attachments into fax format and sends them to the destination number(s) listed in the subject line.
Step 1: Compose Email
Open your email client and start a new message addressed to Melo's fax server.
New MessageTosend@faxpush.comSubject15551234567document.pdfStep 2: Add Fax Details
- Subject must start with "1" before the fax number
- Attach files as .pdf, .jpg, or .tiff
- Up to 10 files per email
- Max attachment size: 50 MB
- Up to 5 fax recipients
Step 3: Server Receives Fax Request
The email arrives at
send@faxpush.comwith the fax content attached.Step 4: Approval Required
The server instantly replies to your email with an approval message. Click the "ACCEPT" link to authorise the fax.
link in confirmation emailStep 5: Sender Verification
Your sender email address must be assigned to a fax-enabled extension on your account. Each sender email can be linked to only one extension.
Step 6: Fax Conversion & Delivery
After approval, the server converts your attachments into fax format and sends them to the destination number(s) listed in the subject line.
What it looks like in your inbox
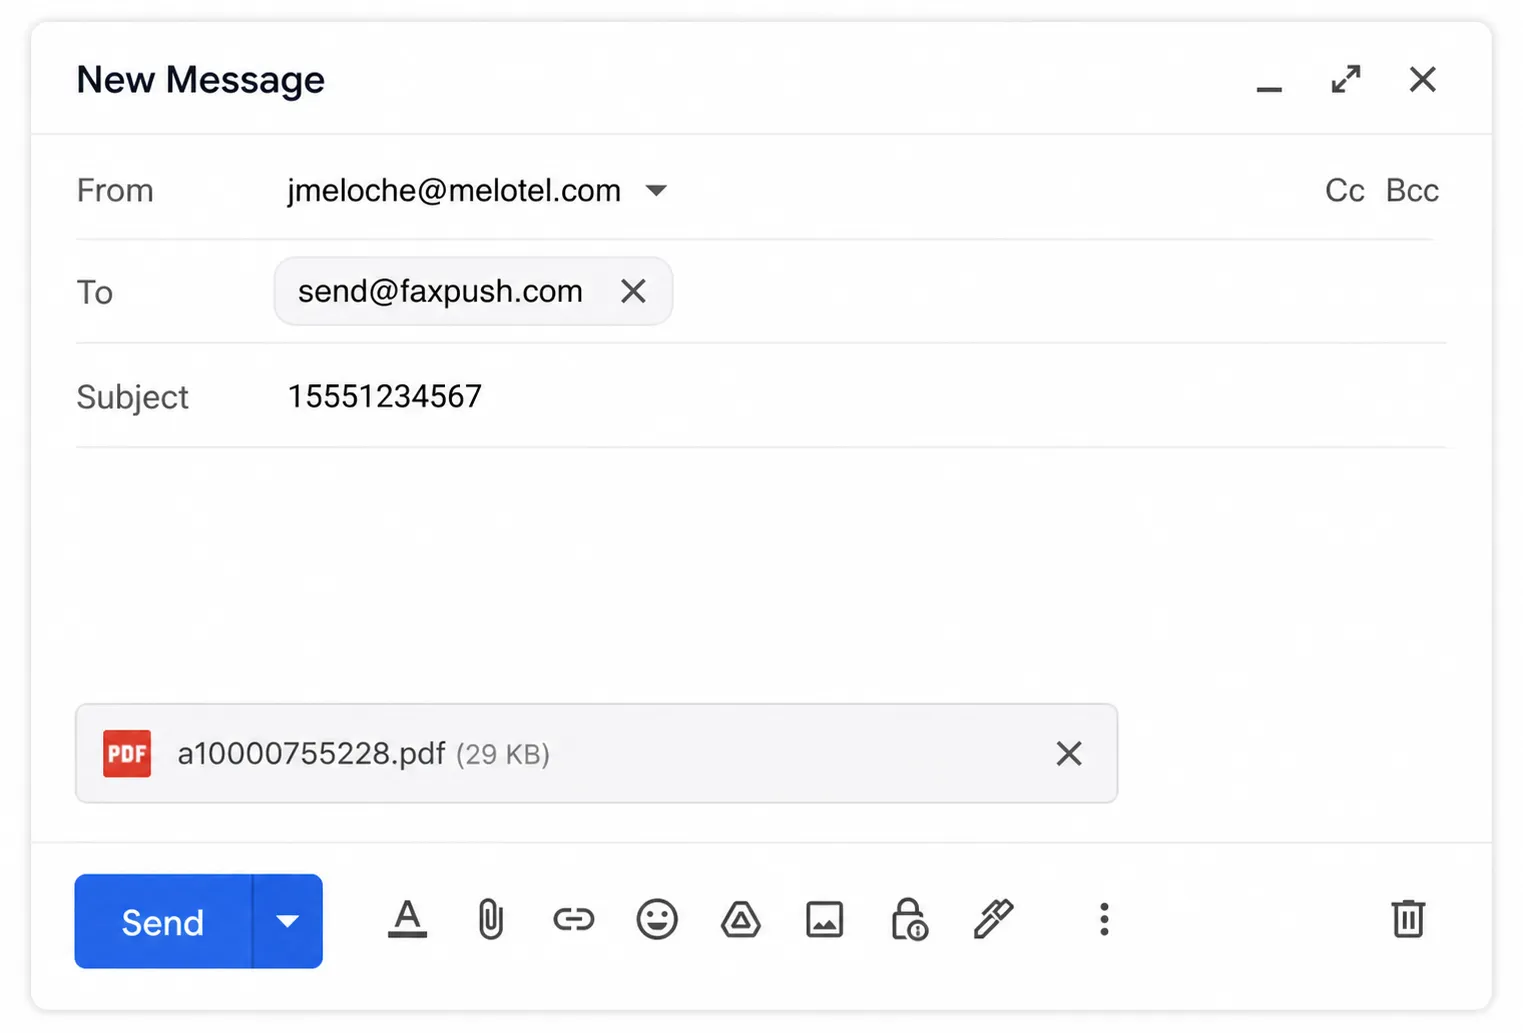
Here's an example of a properly composed fax email — note the lowercase address and the destination number in the subject.
Supported & Limits
Quick reference for what you can send and how much.
Supported file types
PDF, JPG, TIFF
Maximum email size
50 MB
Max fax files per email
10
Max fax recipients
5
Sending to multiple recipients
To fax the same document to several numbers in one go, list each number (still prefixed with a 1) in the subject line, separated by a space. You can include up to 5 recipients per email.
Why the ACCEPT step?
The confirmation email is a safeguard. It ensures that even if your email account is briefly compromised or you address the message in error, no fax goes out without you actively clicking ACCEPT to approve it.
Need faxing enabled on your account?
Our team can set up email-to-fax for any of your extensions in minutes — get in touch and we'll handle it.